 , or:
, or:Return to Version 17 Release Notes index.
Version 17 introduces an updated virtual reality system known as VR-Pro. In previous versions this was an optional extra, but from Version 17 onwards it is included as standard.
VR-Pro allows you move a camera around your design in real time. You can select and change materials. VR-Pro can also be used to position your camera for your Photo Realistic or HD renders. You can also adjust certain tiling position options.
Click "View" - "3D Options". Select "VR".
Set your starting point by clicking "View" - "3D Perspective", "Set Position". Click "OK" or "VR" when the camera is in position.
Return to top.
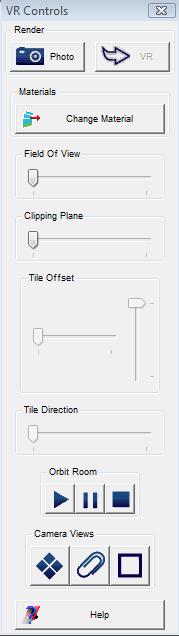
The VR-Pro toolbar appears when you view a design using VR. If you close the toolbar you can re-open it by clicking "View" - "VR Toggle".
| Control | Action |
|---|---|
| mouse left-click | select item under mouse pointer (highlights red) |
| mouse right-click | select material under mouse pointer (highlights blue) |
| hold down left button and drag mouse | move camera in direction dragged |
| hold down right button and drag mouse forward/back | move in direction of camera |
| "up" cursor on keyboard | move camera forward |
| "down" cursor on keyboard | move camera backward |
| "left" cursor on keyboard | sidestep camera to the left |
| "right" cursor on keyboard | sidestep camera to the right |
| "control" and "up" cursor on keyboard | increase height of camera off the ground |
| "control" and "down" cursor on keyboard | decrease camera height off the ground |
| "o" on keyboard | start orbit |
| "p" on keyboard | pause orbit |
| "s" on keyboard | stop orbit, return to camera |
| "F2" on keyboard | switch to photo-realism using the current camera position |
To pan or tilt the camera, hold down the left mouse button and drag the mouse in the direction you wish to turn. The futher you move the mouse, the further you will turn. When you stop moving the mouse or release the mouse button, the camera will stop moving.
To move the camera forward or backward, push the "up" or "down" cursor keys on the keyboard. To sidestep left or right, push the "left" or "right" cursor keys.
To raise or lower the camera, hold "control" on the keyboard and press the "up" or "down" cursor keys.
Return to top.
To do a full photo realistic render using the current camera position:
, or:Note that the VR Toolbar will stay visible. To return to VR:
 , or:
, or:Return to top.
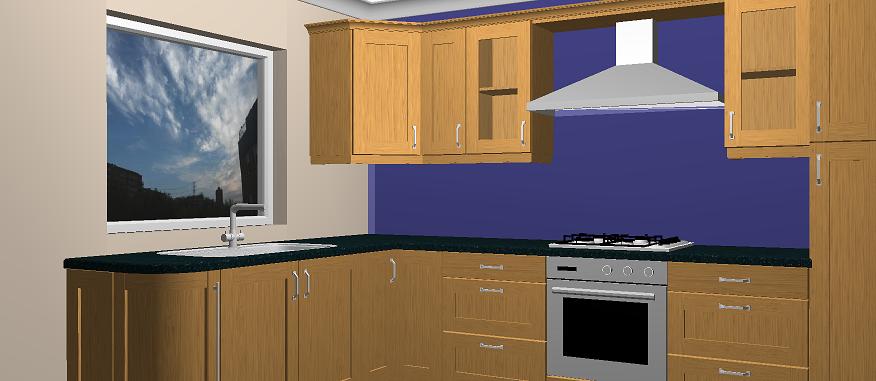
This is equivalent to left-clicking on an item on your plan. To select an item single left-click on it. The selected item will turn red. To edit the selected item, press"F1" on the keyboard.
To un-select the item, single left-click on it a second time.
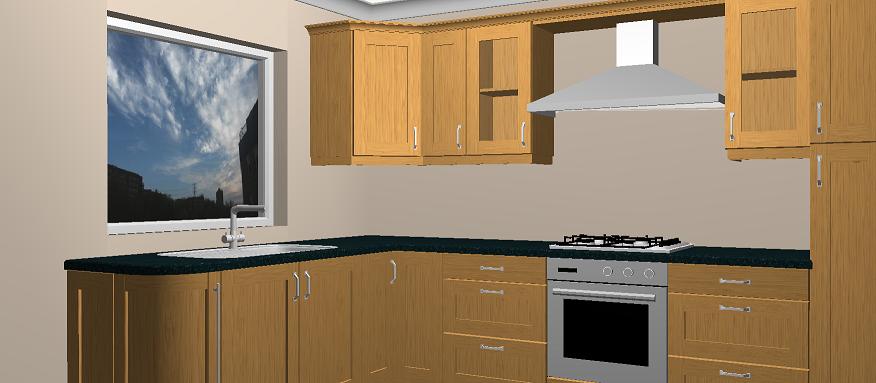
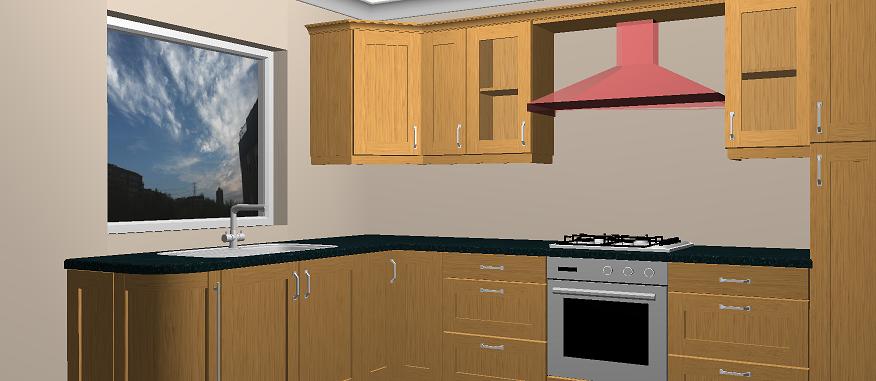
The images below show the original plan, the chimney hood selected and the wall behind it selected.
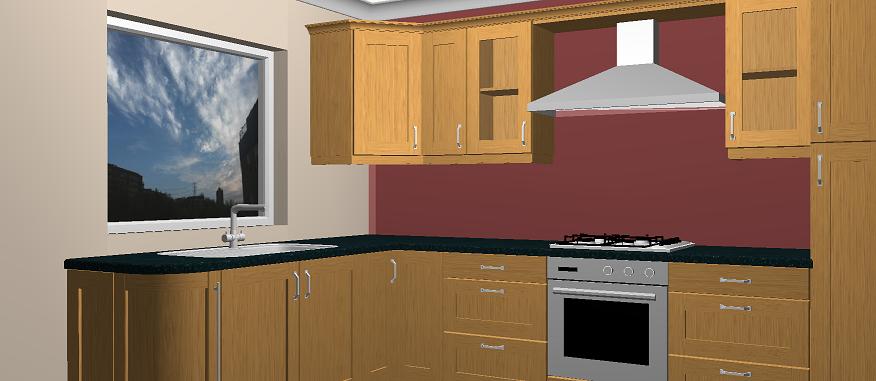
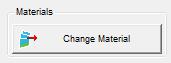
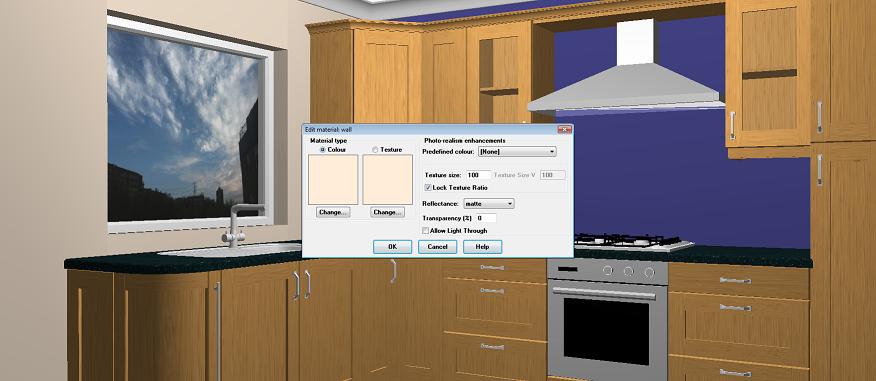
This is equivalent to editing a unit on your plan and clicking the "Photo Realism Colours" button. To select and change a material, right-click the mouse on the part of the unit you wish to change. The selected material will turn blue. To edit the material:
 , or:
, or:The images below show the original plan, the colour for the back wall selected and the edit material dialog for that colour.
Return to top.
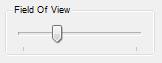
The Field of View slider increases or decreases the camera's field of view. The wider the field of view, the more of you room you can see. However, increasing the viewing angle causes a fish-eye effect. It is equivalent to
changing the field of view when setting the camera under "View" - "3D Perspective" - "Set Position" -  .
.
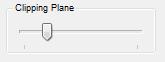
The clipping plane slider moves the cutting line further forward from the front of the camera. It can be used to remove obstructions to your view. It is equivalent to
changing the cut line when setting the camera under "View" - "3D Perspective" - "Set Position" -  .
.
For a more detailed explaination of how to use Field of View or Clipping Plane, see Setting your camera position in the online manual.
Return to top.
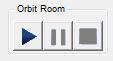
To orbit your design (have the camera automatically track around the outside of the design):
 .
.
To pause the orbit of the design click the "Pause" button in the "Orbit Room" section of the VR Toolbar -  , or press "p" on the keyboard.
To stop orbiting the design and return to the camera view click the "Stop" button in the "Orbit Room" section of the VR Toolbar -  , or press "s" on the keyboard.
See Tiling Changes for details on the tile adjustments now possible in Version 17.
Return to top.
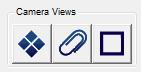
There are three view shortcuts:
 - does a bird's eye view of the design.
 - positions the camera in the middle of a wall run, facing into the room. Press again to cycle through the wall runs in the design.
 - return to the original camera position specified when starting VR.
Return to top.
Return to top.
VR-Pro takes advantage of any 3D acceleration provided by your video card. The better the video card, the faster and smoother VR-Pro will perform. Consult your hardware supplier for information on upgrading your video hardware. Due to the quantity of different graphics cards manufacturers, ArtiCAD cannot recommend a specific card to use.
Return to top.